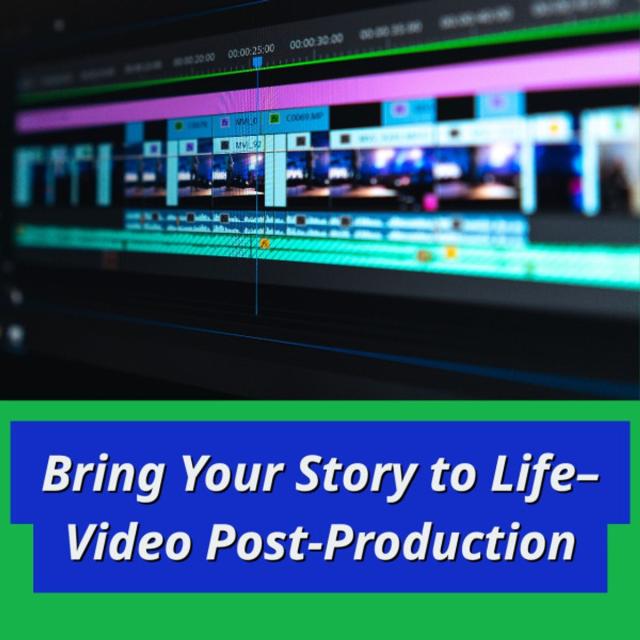
In this course, we will explore the power and artistry of picture and sound editing. Although you’re welcome to use the editing software of your choice, we’ll be demonstrating non-linear editing using Adobe Premiere. We’ll share with you our editing workflow for completing a visual story, from scripting and writing conversationally to the visuals, to recording voice overs, to building the rough cut, and polishing with the final cut.
Class Deals by MOOC List - Click here and see Coursera's Active Discounts, Deals, and Promo Codes.
Course 3 of 3 in the The Art of Visual Storytelling Specialization.
What You Will Learn
- Create a “paper edit” using time code in their script.
- Apply knowledge of professional editing workflows.
- Perform basic editing.
- Interpret editing patterns and transitions.
Syllabus
WEEK 1
Writing the Script
In this module, we plan to teach you how to use Adobe Premiere, which we’ll use as an analog for common non-linear editing systems. Premiere uses many of the bells and whistles that will enhance your visual storytelling, including color correcting, essential graphics and easy shortcuts to trim edits efficiently. You will learn how to save a project correctly, and how to organize and prep your media for editing. We’ll help you become familiar with the workspace and tools that you will use when trimming video and audio clips. We’ll also share some rules of editing that will help you assemble shots in a manner that is pleasing and dynamic.
WEEK 2
Getting to Know Non-Linear Editing
In this module you will learn the workflow that advances your visual story in stages: from logging the pictures and sound, to transcribing the interviews, and to writing the script known as the “paper edit,” a document where the script contains editing decisions aligned with timecode. We’ll discuss how to log through your video and audio, where essentially you record the start and end timecodes of your shots. The logging sheets can then be used as a reference tool to help you find where shots are located in your footage and where you can quickly access sound bites and other sounds. The logging sheets are often used by producers and script writers to create the paper edit.
WEEK 3
Getting Started with Editing
In this module, we plan to teach you how to use Adobe Premiere, which we’ll use as an analog for common non-linear editing systems. Premiere uses many of the bells and whistles that will enhance your visual storytelling, including color correcting, essential graphics and easy shortcuts to trim edits efficiently. You will learn how to save a project correctly, and how to organize and prep your media for editing. We’ll help you become familiar with the workspace and tools that you will use when trimming video and audio clips. We’ll also share some rules of editing that will help you assemble shots in a manner that is pleasing and dynamic.
WEEK 4
The Rough Cut
It’s often been said that editing is an exercise in controlled chaos. It can be overwhelming to face a mountain of footage and decide how it should go together. But using the script gives you a simple plan to get started. In this module, we’ll show you how to start editing the rough cut. The rough cut is where your story starts to take shape. But we’re going to recommend that you begin by assembling the audio first in the order according to what’s in the script. The completion of this audio bed will achieve what amounts to a “radio cut.” Simply listening to the audio will help you evaluate whether the story is making sense. Should you decide to make changes to the audio, it’s often much easier to do so if you don’t happen to have all your video in place, which would require some more shifting and cutting of clips. Once you feel that the radio cut is doing what you want, then it’s time to apply the video. If you’ve written to the video, then the clips should just fall in place. Once all the video clips are in roughly the order that you want, then the rough cut is complete. With this rough cut you will want to watch it several times to make sure it all makes sense. You will then be able to move on to the final edit.
WEEK 5
The Final Cut
In this module, you will learn how to polish your rough cut into the fine cut. We’ll cover the Rules of Editing, where you critically evaluate your shots, removing technically bad shots and audio, redundant shots, continuity errors and any shots that seem out of place. The goal of the fine cut will be to make sure that each shot is placed precisely and is well-timed with pacing and rhythm that seems appropriate to the emotional impact of the scene. We’ll also share some Adobe Premiere shortcuts for how to trim edits until the sequence feels like it’s working to create a dynamic and engaging presentation. We’ll also make sure you know how to mix audio properly, especially if you add music to your sequence. If you use any stock footage and/or music, then you will also learn about copyright restrictions and public domain.
WEEK 6
Creating Graphics
One of the last elements added during the fine cut are graphics. Not every video needs them, but in some you will want to create a title and even some identifiers for the people who were interviewed. In this module, you will learn how to create animated graphics for slates, titles, full-screen graphics, and identifiers (lower thirds).
WEEK 7
Review and Exporting
In this module, we will show you what you’ve been working towards this whole time: when you can finally export your video! We’ll discuss some of the different formats that you can export, how they will impact how your video will be seen by others. We’ll then call it a wrap!