MOOC List is learner-supported. When you buy through links on our site, we may earn an affiliate commission.
MOOC List is learner-supported. When you buy through links on our site, we may earn an affiliate commission.
By the end of this course you should feel comfortable using free and open-source software to design your own printed circuit board and any bracketry or case to hold it, customized for your application.
Module 1 covers circuit simulation using several open-source projects and simulation methods for simulating transient response of circuits as well as frequency-domain response of filters. Additionally, we'll use open-source filter synthesis tools to help you quickly design and simulation filters.
Module 2 is all about creating professional looking electrical schematics. This is both an art and a skill and we'll cover the technical elements of using schematic entry software as well as broad concepts that are portable to any commercial application.
Module 3 takes our schematic and turns it into a physical PCB design. Understanding this process of how the schematic and the PCB layout work together is critical. We'll be demonstrating this with open-source software, but again, the concepts apply to any commercial software you may have access to.
Module 4 demonstrates the powerful idea of co-designing your electrical and mechanical systems together. We'll create a 3D model of our electrical PCB and bring it into 3D CAD software to design mechanical parts around it. Tying together these two applications opens another dimension in customizing your projects.
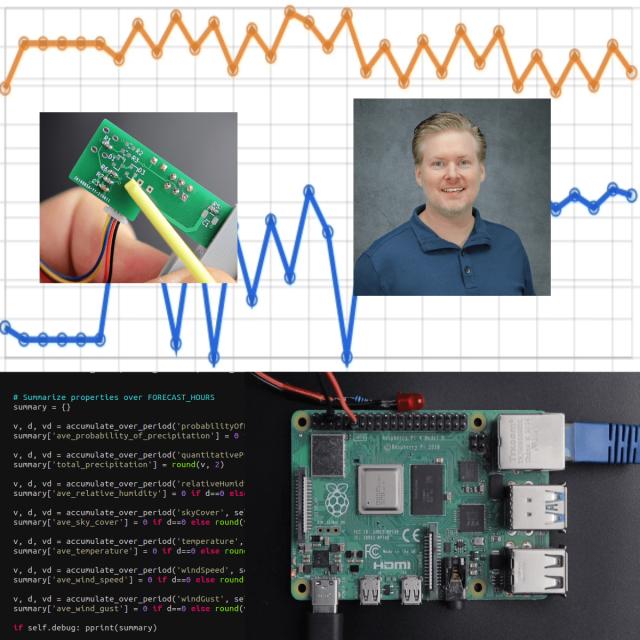
Course 4 of 4 in the Powering your Home Projects with Raspberry Pi Specialization.
Syllabus
WEEK 1
Circuit Simulation
When you are building your projects and need a circuit (maybe to interface to a sensor, motor, or something else in the physical world) wouldn't it be nice to have a high confidence that the circuit will work, before you invest in physically constructing it? That's where circuit simulation comes in. In this first module, we will discuss several free and open source circuit simulator applications, the underlying computational engines they use, and how to simulate circuits for your projects.
WEEK 2
Drafting Schematics
Producing professional looking schematic drawings serves two purposes. First, they are a document for you, the designer, to communicate how the circuit works and how to use and troubleshoot the circuit. Second, they are necessary step in the process to create a printed circuit board (PCB). This module will get you up and running using the open source project Kicad to create professional level schematics. And keep in mind that this is a stepping stone to Module 3, where we will convert the schematic into a physical PCB design.
WEEK 3
Designing Printed Circuit Boards
Designing printed circuit boards (PCBs) is both an art and a skill. There is a game-like challenge of optimizing the layout and sometimes solving the puzzle of how to correctly route all traces in a confined space. This module will cover the conceptual stages of layout out your PCB and we'll demonstrate every step from importing the schematic data to having a board fabricated by a commercial board manufacturer.
WEEK 4
Co-Designing PCBs and Mechanical Parts
Now that we're confident in designing printed circuit boards, let's turn our attention to 3D modeling custom parts such as brackets and cases for our PCB. We'll use the open source project Freecad to import our PCB design and draw 3D models around it. Co-designing parts together is a powerful skill for creating truly custom projects.
MOOC List is learner-supported. When you buy through links on our site, we may earn an affiliate commission.
MOOC List is learner-supported. When you buy through links on our site, we may earn an affiliate commission.