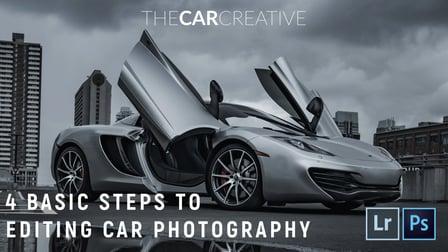
In this class, we will be talking about the 4 basic steps that I use to edit professional looking car photos using Adobe Lightroom and Photoshop. In the first lesson, we will talk about the basics of tone, exposure, contrast, and saturation. Following that, we will learn some simple tools in Adobe Photoshop to clean up our image and remove anything we don’t want. Thirdly, we will look at highlighting and drawing attention to our subject, in this case, our car.
And lastly, we add style! Style is, of course, dependant on you and what you like but I will show you how I create my style and how I use a reference photo to create a linear look across my social platforms. This class is geared towards beginners and intermediate photographers, or anyone who wants to know more about creating great edits with their car photos.
In this project, we will be looking at editing a professional looking car photo from start to finish using Lightroom and Photoshop. In order to complete this project, you will need to have your own car photo or download the RAW photo attached to follow along with the steps in the class.
We will go over:
- Step 1: The Basic steps of editing in Lightroom
- Step 2: Removing unwanted objects using Photoshop
- Step 3: Highlighting or drawing attention to our subject
- Step 4: Adding style