MOOC List is learner-supported. When you buy through links on our site, we may earn an affiliate commission.

MOOC List is learner-supported. When you buy through links on our site, we may earn an affiliate commission.
Don't worry if you've never worked with electronics or programed before, it's not a prerequisite. Just come prepared to learn something new and have some fun!
Design a unique musical toy with your country's (or teams) anthem and colors.
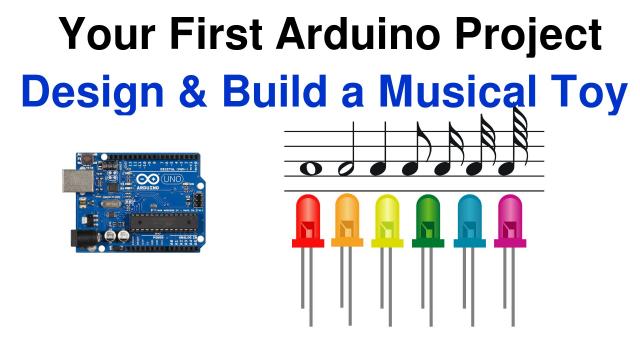
You will be building a unique electronic toy that flashes LEDs while playing the tune of your choice. As you create your project you learn about the Arduino, Electronics and even a little bit about music.
You can create your toy on a temporary breadboard or assemble it permanently as your own unique creation. I can't wait to see what you come up with!
To build this project you’ll need to gather together the following items:
- An Arduino, Genuino or Arduino clone board. I use an Arduino Uno clone in the lessons, this is the most popular Arduino board and is available for less than 20 dollars. You can use it later for other projects.
- A computer with a spare USB port. This a desktop or notebook and it can be Windows, Mac or Linux. You’ll use it to program your Arduino board.
- A USB type A to B cable. This Is the type of USB cable you use with a printer. Your Arduino board may have come with one.
- (3) Colored LED lights. Pick the colors to match your country's flag or your sports team's logo. LED’s come in all shapes and sizes, I recommend the 3mm or 5mm ones which are dirt cheap and commonly available.
- (3) 330 ohm ¼ watt resistors. Actually any value from 150 to 470 ohms will be fine.
- (1) 10K (10,000 ohm) ¼ watt resistor. Actually any value from 5.6K to 22K will be fine.
- A pushbutton switch. This is also called an “SPST momentary contact” switch.
- A piezo element or tiny speaker rated at 6 volts.
- A solderless breadboard. This is a plastic board used for prototyping electronic circuits. It should be available from the same place you bought your Arduino and the other electronic components.
- Hookup wire for the breadboard. This may have come with your breadboard, otherwise you can use standard 22 or 24 gauge solid insulated wire.
Optionally you’ll need a few things to exercise your creativity and make your project permanent:
- A box or enclosure for your device. Use something you have around the house or explore your Dollar Store for a small plastic box.
- A small “perfboard”, this is a circuit board with holes surrounded by copper pads. It’s optional, but it will make it easier to permanently wire your circuit.
- Solder and a soldering iron.
- A 9 volt battery and a battery clip with a 2.1 mm power connector OR a small USB power supply.
- Your Imagination!
You don't really need any tools, although a small pair of needle-nose pliers would be handy.
MOOC List is learner-supported. When you buy through links on our site, we may earn an affiliate commission.
MOOC List is learner-supported. When you buy through links on our site, we may earn an affiliate commission.
